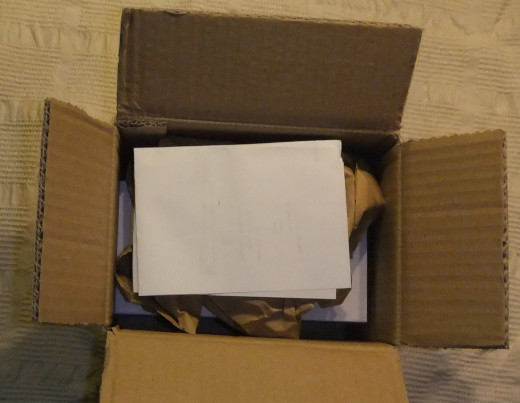
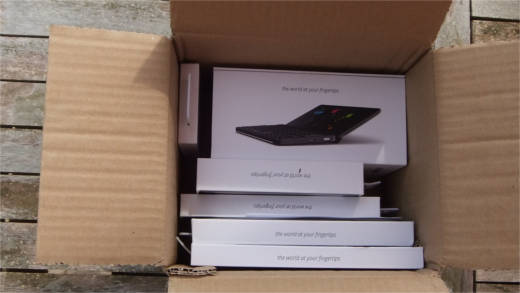
Like I did when receiving the Cosmo Communicator, I want to share the first impressions while unboxing the brand new Astro Slide, I have received yesterday. About two and a half years ago I have backed Planet Computers Astro Slide Indiegogo campaign. Again Planet Computers has promised a device that is different from anything else, that is available for purchase. The Astro Slide is a slider class device with a fully integrated keyboard and touchscreen and full phone usability that is designed for Android, but will also be capable of running Linux or Sailfish OS. No need to go through the full specs here, everything interesting regarding these can be read on Planet Computers web page. Originally Planet Computers was planning the device in March 2021, then Covid-19 appeared… Yesterday, after a long time of waiting the parcel with the Astro Slide finally arrived. When receiving the parcel I had to pay an additional 33€ import fees.
Parcel containing the Astro Slide
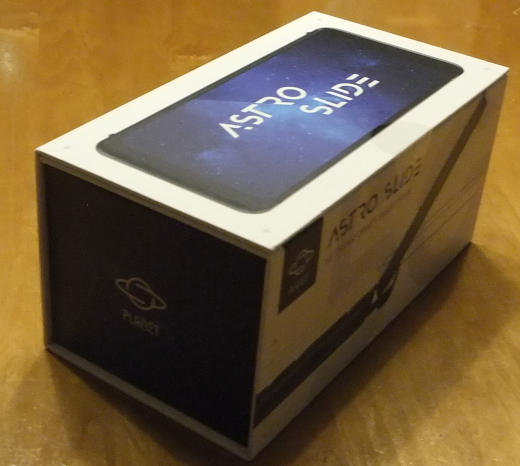
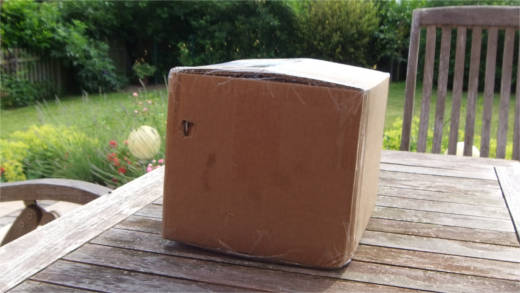
Inside the parcel has been a single box.
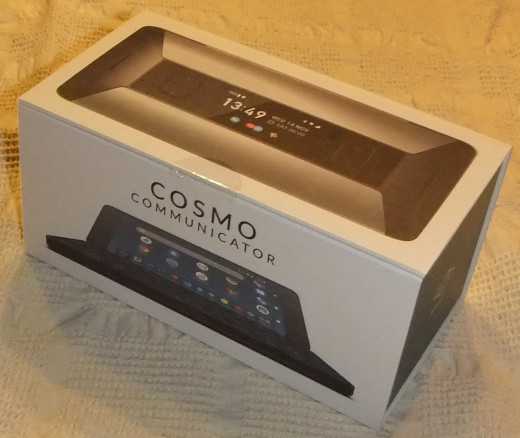
Box containing the Astro Slide
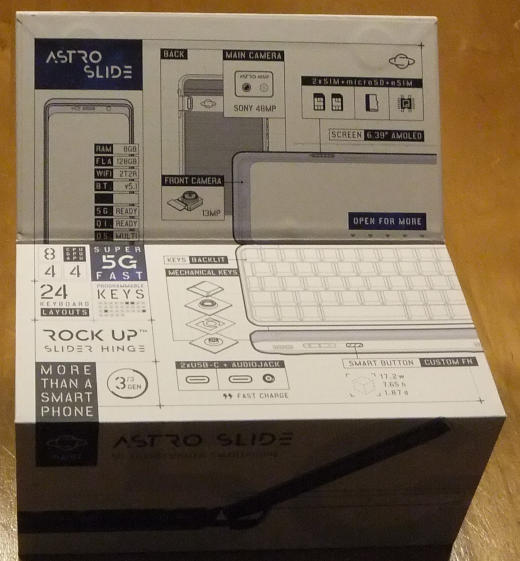
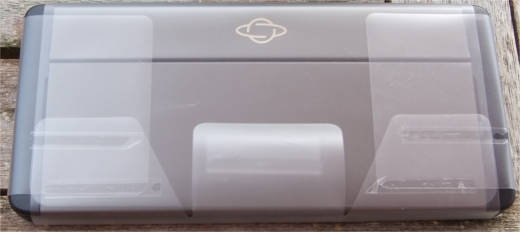
Before opening the box has to be fold out.
Fold out Astro box
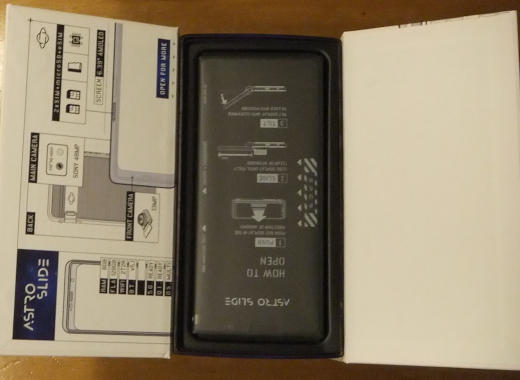
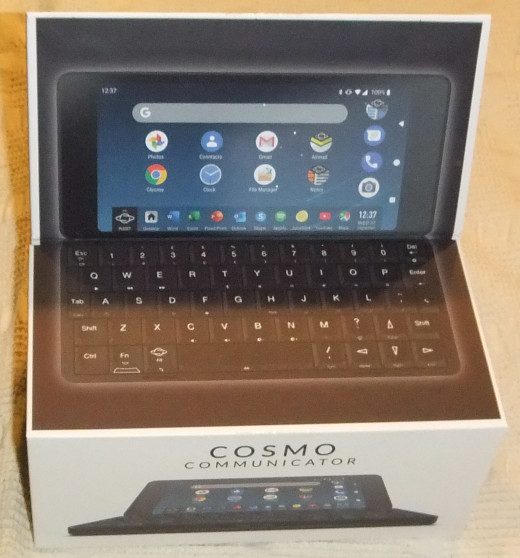
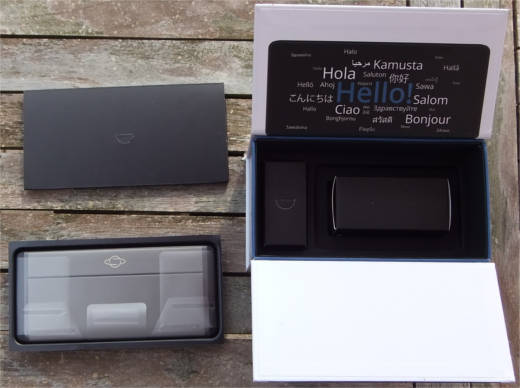
After Opening the box one can see the well packed Astro in there.
Opened Astro box
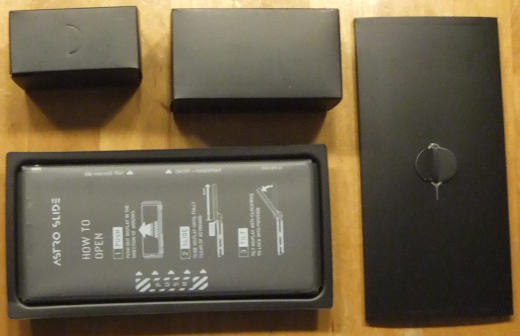
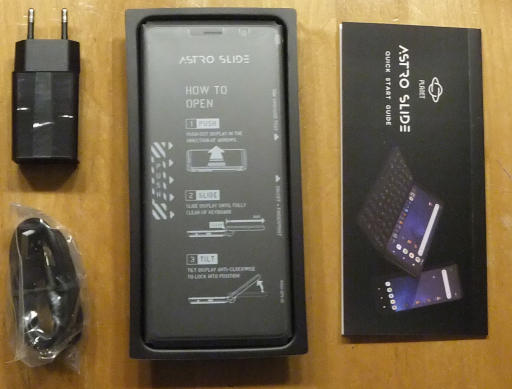
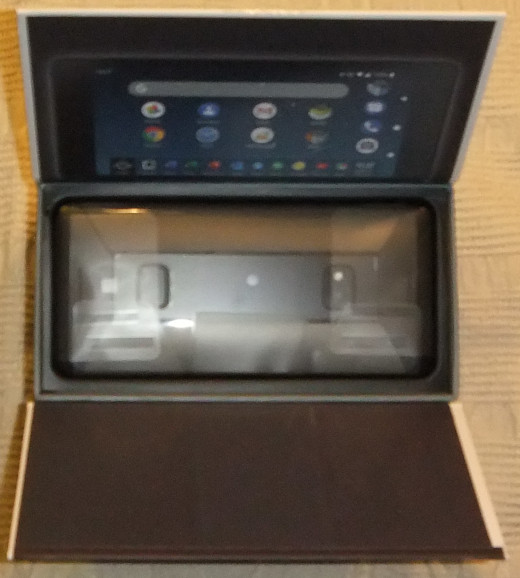
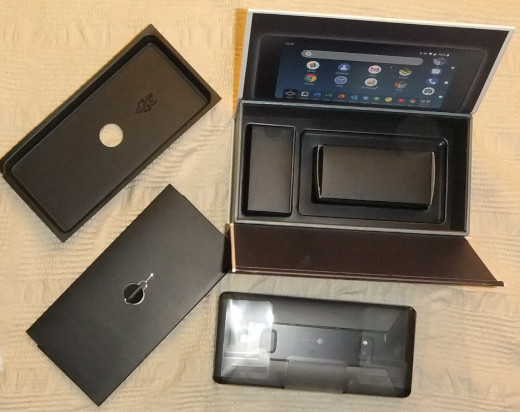
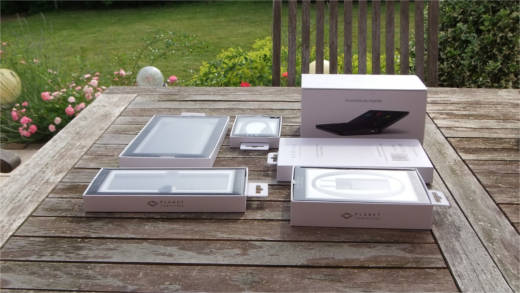
The full content of the box can be seen below. One can see the Cosmo wrapped well in foil as well as an envelope containing a quick start manual and the Sim card tool. Still in the box are two smaller boxes containing the charger and the USB cable.
Astro box content
After some further unboxing we can see charger and user manual.
Astro box content
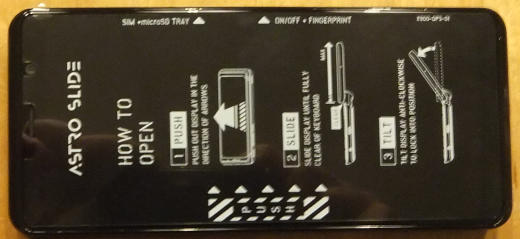
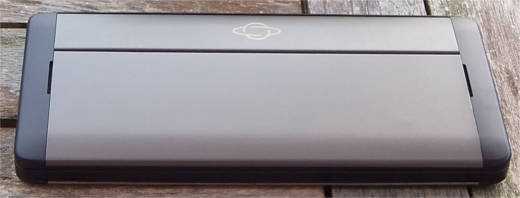
After removing the foil we can see the Astros full beauty.
The Astro Slide
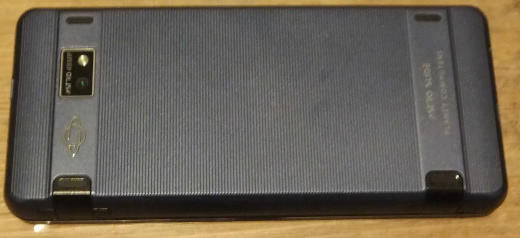
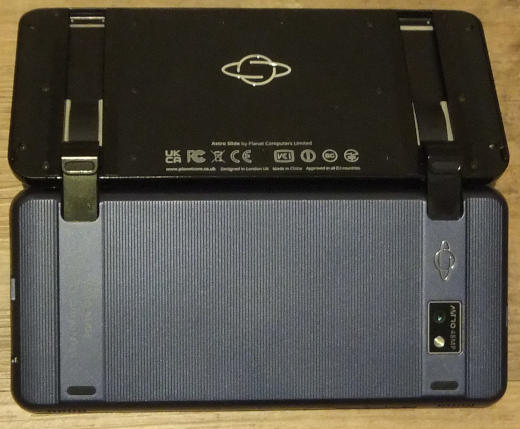
From the back side we can see camera and rubber feet.
Back side of the Astro
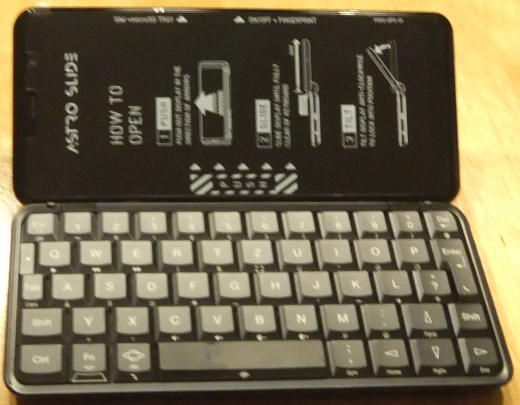
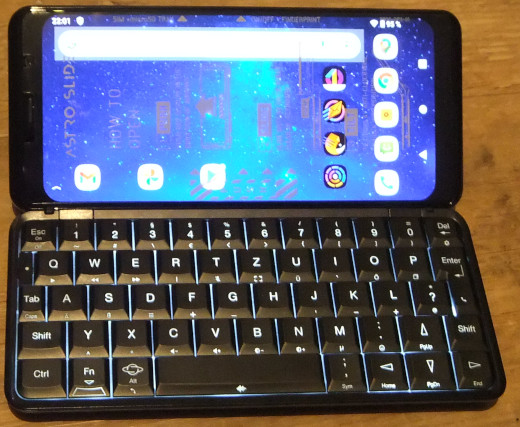
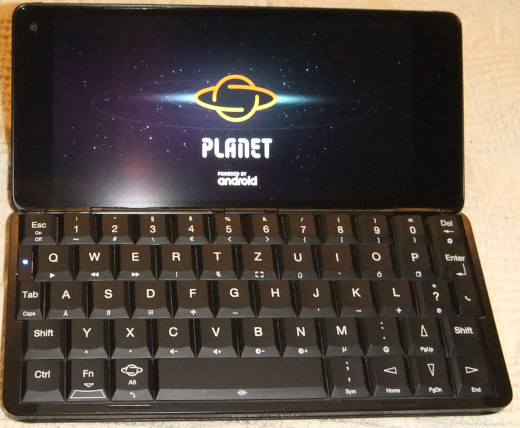
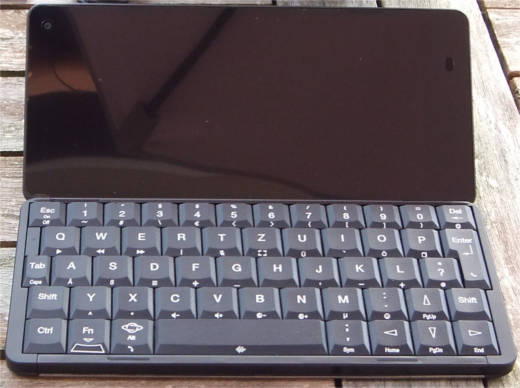
With the opened device we can see the display and the German QWERTZ keyboard. The keyboard again feels more solid as with the Cosmo.
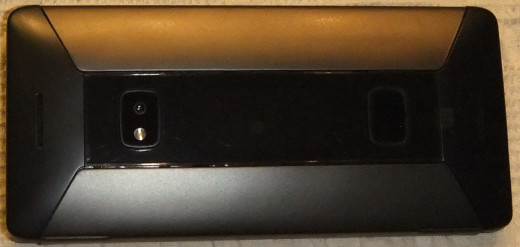
When opened we can see the sliding mechanism from the back. The sliding mechanism is a bit clumpsy as others described before. It will take some time to get the feel for it.
Astros sliding mechansim from the back
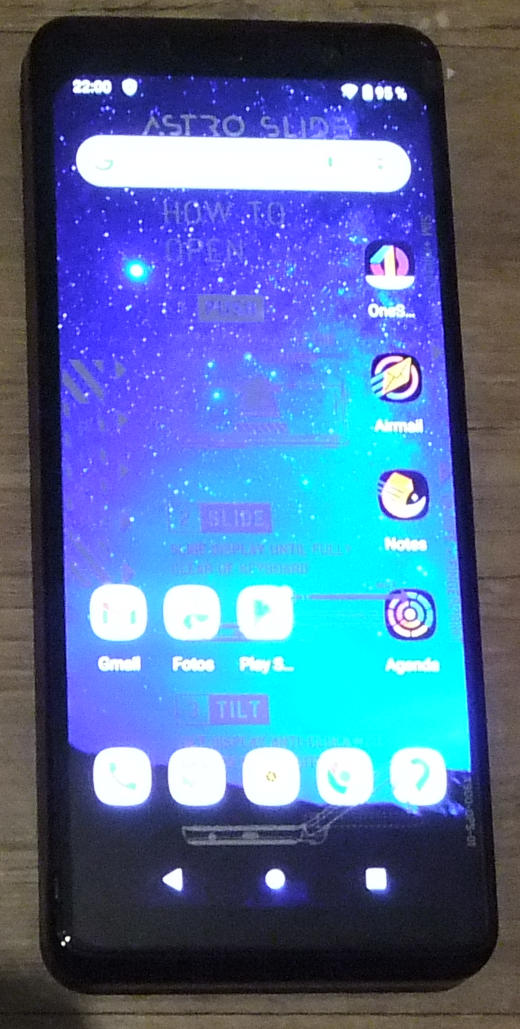
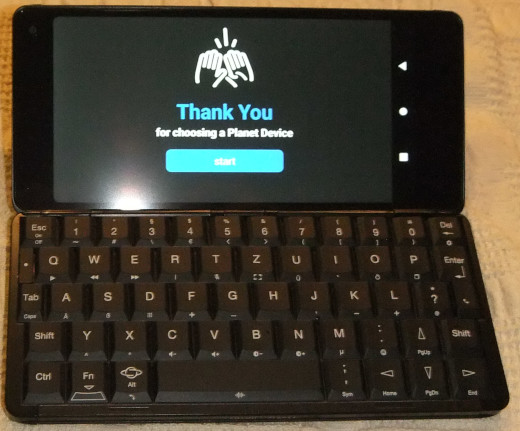
After completing the initial setup process the Astro shows the Android desktop.
Astro running Android
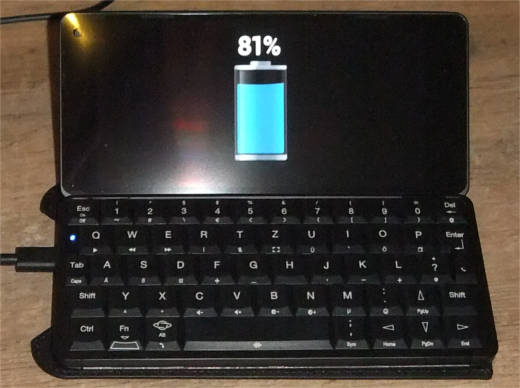
Below we can see the desktop in landscape while the keyboard is slided out and its backlit is turned on. Unfortunately the display corners are far rounder than with the Cosmo.
Slided out Astro with running Android
I am hoping you have enjoyed the photo series and some first impressions of the Cosmo. Further articles regarding testing some aspects of the device, and hopefully some solutions will follow. Stay tuned for updates.
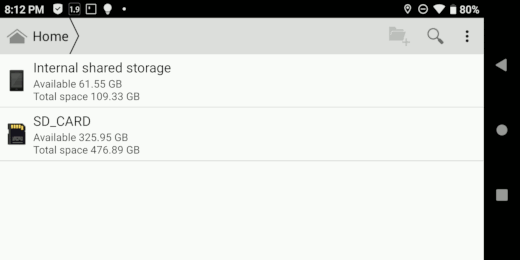
Cosmo Communicator with exfat formatted micro sd card
Unfortunately the Cosmo Communicator, like many other Android phones, does not support the exFAT filesystem. Most vendors do so due to exFAT being covered by software patents in the USA, which is a problem for companies selling to the USA. exFAT might not be the most sophisticated filesystem available, but is needed for interoperability with other devices and to get rid of the 4GB file size limit of fat32. This article shows how to enable exFAT support for the Cosmo. Since it is not much effort to also get NTFS support this is done by the way.
Setup the kernel sources
To get exfat support, first of all we need a kernel module providing exfat support. Fortunately some time ago Samsung has released their exfat driver under the GPL license. The derivate of this driver can be found on github¹ This module has to be built against the kernel used on the device. The kernel source for the Cosmo has also been made available on github². The two source trees can be combined, as described in the documentation for the exfat module by editing the relevant Makefile an Kconfig. Furthermore CONFIG_EXFAT_FS for exFAT support CONFIG_NTFS_FS for NTFS have to be enabled as modules in kernel configuration. The resulting kernel source tree with the included exfat submodule has been placed on github.
Setup the build environment
To build the kernel modules on better uses a compiler that is as near as possible to the one that has been originally for building the kernel. We can easily find this out via procfs on the target device.
clang version used for the Cosmos kernel build
When compiling on an arm64 system the build environment can easily be installed. I.e. by executing apt install llvm clang on an Ubuntu arm64 system. When using a different architecture for compiling, the appropriate cross toolchain has to be installed.
Build the kernel modules
Once all is set up the kernel modules can be built.
make O=../KERNEL_OUT -C cosmo-linux-kernel-4.4 ARCH=arm64 k71v1_64_bsp_defconfig

make -j4 O=../KERNEL_OUT ARCH=arm64  CC=clang  CLANG_TRIPLE=aarch64-linux-gnu- CROSS_COMPILE=aarch64-linux-gnu- modules
As result we get the two kernel modules ntfs.ko and exfat.ko
Creating a magisk module
The resulted kernel modules have to get loaded on Android startup. Starting with Android Pie it is not possible any more to mount the system partition for writing. One possibility would be to create an own system image containing the kernel modules and necessary scripts. Since Magisk is the recommended way for rooting the Cosmo Communicator anyways, we can take a different approach. Fortunately Magisk gives the possibility to create on overlay filesystem which gets injected into the android system partition, so we can get the same result with less effort.
To create the Magisk module containing the filesystem support we start with the Magisk Module Template4 and copy the two kernel modules to system/lib/modules/. Furthermore we need some additional binaries for filesystem checking and mounting. So we add the filesystem support binaries and volume daemon built for the Pixel 2 from fsbinaries.zip and Magisk-v18.1-extrafs.zip³. Next we need a service.sh script which loads the kernel modules on startup an restarts vold once the user is present. With an earlier restart the volumes do not get added.
#!/system/bin/sh

# load kernel modules
insmod /system/lib/modules/exfat.ko

# kernel ntfs support is ro
# comment this line to use fuse ntfs (rw)
insmod /system/lib/modules/ntfs.ko

_SLEEP_INTERVAL=2

# wait for startup
while [ "$(getprop sys.boot_completed)" != "1" ]; do
    sleep ${_SLEEP_INTERVAL}
done

# wait user to unlock
while dumpsys trust | grep -c "deviceLocked=1"; do
    sleep ${_SLEEP_INTERVAL}
    echo "device locked"
    echo $(dumpsys trust | grep -c "deviceLocked=1")
done

#kill vold to restart
killall vold
echo "vold restarted"
One can comment the line loading the ntfs module to decide whether ntfs kernel support, which is read only or fuse ntfs, which is read/write shall be used. For this a simple wrapper script replacing mount.ntfs has been added.
#!/system/bin/sh
# call mount for in kernel ntfs and mount.ntfs3g without
if cat /proc/filesystems | grep "ntfs" &> /dev/null ; then
  echo "using kernel ntfs (ro)"
  params=$(echo "$@" | sed 's/,shortname=mixed//')
  params=$(echo "$params" | sed 's/,dirsync//')
  mount $params
  echo no ntfs.ko
  mount.ntfs3g $@
else
  echo "using fuse ntfs (rw)"
  mount.ntfs3g $@
fi
Finally LATESTARTSERVICE=true has to be set config.sh to execute the service.sh script on startup and some Selinux policies have to be added to avoid the need of running in permissive mode.
The final result can be found on github. For those who do not want to perform the procedure or parts of it themselves, the installable Magisk module can be downloaded from here:
It can be installed using the Magisk Manager App. Best for all users would be if Planet Computes could include this in the stock ROM. This would give exFAT/NTFS support also for non-rooted devices. Assuming they are fearing software patents, they might consider joining the Open Invention Network to get access to the relevant Microsoft patents in the future.
Like I did when receiving the Gemini PDA, I want to share the first impressions while unboxing the brand new Cosmo Communicator, I have received today. About one year ago I have backed Planet Computers Cosmo Communicator Indiegogo campaign. Planet Computers has promised a device that is different from anything else, that is available for purchase. The Cosmo Communicator is a clamp-shell class device with a fully integrated keyboard and touchscreen and full phone usability that is designed for Android, but will also be capable of running Linux or Sailfish OS. Major improvements compared to the Gemini PDA, beside better specs, are the outside cover display and the backlit keyboard. No need to go through the full specs here, everything interesting regarding these can be read on Planet Computers web page. Yesterday, after a long time of waiting the parcel with the Cosmo finally arrived.
Parcel containing the Cosmo Communicator
Inside the parcel has been a single box
Box containing the Cosmo Communicator
Before opening the box has to be fold out.
Fold out Cosmo box
After Opening the box one can see the well packed Cosmo in there.
Opened Cosmo box
The full content of the box can be seen below. One can see the Cosmo wrapped well in foil as well as an envelope containing a quick start manual and the Sim card tool. Still in the box are two smaller boxes containing the charger and the USB cable.
Cosmo box content
After removing the foil we can see the Cosmos full beauty.
The Cosmo Communicator
With the opened device we can see the display and the German QWERTZ keyboard. Keyboard and hinge even feel more solid as with the Gemini PDA.
Opened Cosmo booting Android
After booting the Cosmo shows the initial welcome screen. With a press to the start button one could start the initial setup process.
Cosmo welcome screen
The outer cover touch display, which shows the caller id and allows to accept calls can be seen below.
Cosmo Communicators outer touchscreen showing date and time
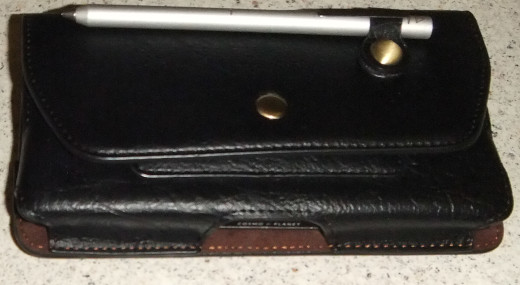
For the Cosmo Communicator I also ordered a third party belt case which can be seen below with the Cosmo inside and a Adonit Dash2 stylus attached.
Third party belt case with the Cosmo
I am hoping you have enjoyed the photo series and some first impressions of the Cosmo. Further articles regarding testing some aspects of the device, and hopefully some solutions will follow. Stay tuned for updates.
Last week my Gemini PDA has arrived. There have been some problems with devices from the first batch especially regarding the keyboard and the device not containing the X27 SoC but a X25 SoC. At least one later device also has been reported being powered by the X25 SoC. Thus I wanted to do some basic testing before flashing Linux onto it. So I have installed CPUZ and A1 SD Bench on it and did some (very) basic testing.
First we will have a look at the CPUZ output. Here we can clearly see that this Gemini is powered by an X27 SoC with its two Cortex-A72 and eight Cortex A53.
Gemini PDA CPU – CPUZ screenshot
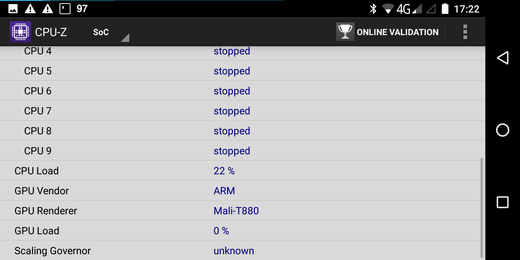
The last part of the SoC screen shows the Mali-T880 GPU.
Gemini GPU – CPUZ screenshot
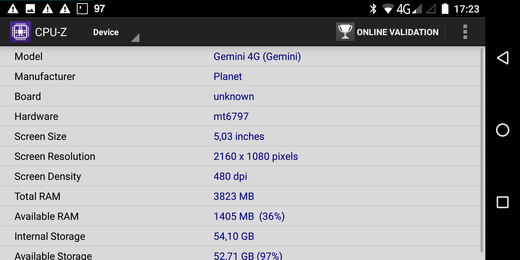
Some more device information regarding display resolution and amount of memory can be seen below.
Gemini PDA device information – CPUZ screenshot
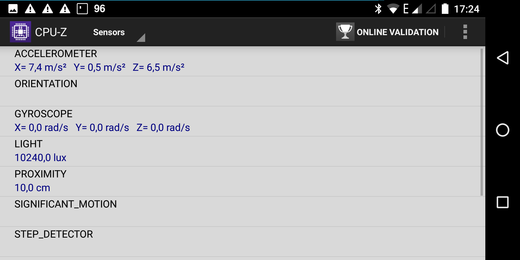
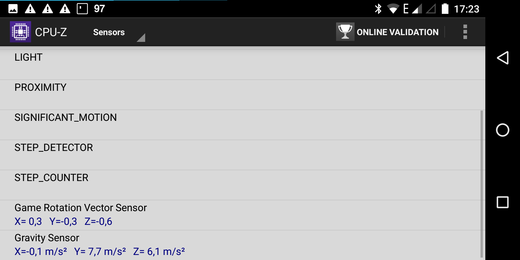
The two screenshots below show the sensors available in the Gemini. This might be interesting later to see if all of them can also be accessed from Linux.
Gemini PDA Sensors – CPUZ screenshot
Gemini PDA more Sensors – CPUZ screenshot
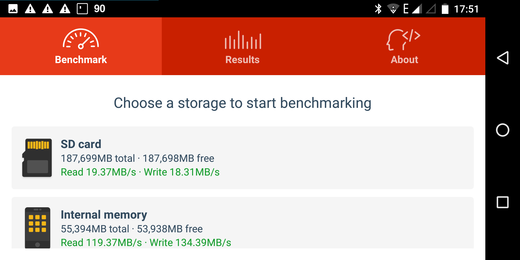
Finally some speed tests regarding the internal memory and the SD card using A1 SD Bench have been performed.
Gemini PDA memory bench – A1 SD Bench
The speed of the internal memory looks good, however it is strange that the write speed is shown to be faster than the read speed. This might be a bug in the benchmark app. Unfortunately the SD card speed of approximately 20MB/sec is disappointing. The SD card used is a U1/A1 capable SanDisk Ultra 200G which is rated up to 100 MB/sec for reading. Trying the same card with Linux and an USB3 card reader proves the spec:
# hdparm -t /dev/sdd1
/dev/sdd1: Timing buffered disk reads: 280 MB in 3.00 seconds = 93.32 MB/sec
So there might be an incompatibility with this card or some driver issue. Maybe some later tests with Linux will show. At least the results would be comparable then, because of using the same tool.
The device seems to be as expected an after flashing Linux we can have a look into some more details. The process of flashing Linux already is well documented on github and on oesf.org, thus it will not be covered here.
What is going on here? An unboxing article on MyGNU.de? Well, this is the exception, since the Gemini is an exceptional device like Nokias N900 has been before and in the future hopefully the some day finished Neo900 might be. Well, I do not want to stray away any further. About 13 month ago I have backed Planet Computers Gemini PDA Indiegogo campaign. Planet Computers has promised a device that is different from anything else, that is available for purchase. The Gemini is a PDA class clamp-shell device with a fully integrated keyboard and touchscreen that is designed for Android, but also capable of running Linux. No need to go through the specs here, everything interesting regarding these can be read on Planet Computers web page or on Wikipedia. Last week, after a long time of waiting, the parcel with the 4G version of the Gemini, the connectivity kit and the optional camera finally arrived. The order id has been in the 20XX range and the device is with a non UK keyboard, so the device is most probably from the third batch.
Parcel containing the Gemini PDA
After opening the parcel and removing some wrapping material one can see multiple smaller boxes containing the device and its accessories.
The opened parcel
The boxes shown in the photo below contain from left to right, the leather pouch, the special HDMI adapter (only this one allows connecting an external display), the Gemini, the USB type C hub, the external camera addon and an additional charger.
Boxes containing the Gemini PDA and accessories
The larger box welcomes us with “hello” printed in several languages and contains a smaller black box containing the manual and the cover removal tool (needed to insert a SIM card and a SD card), the PDA itself and (still in the larger box) a charger and the Type C to Type A USB cable.
The opened PDA box
Below we have a closer look to the PDA well wrapped in foil.
Gemini wrapped in foil
After removing the foil we can see its full beauty.
The Gemini PDA
With the opened device we can see the the display and the German QWERTZ keyboard. The keyboard feels solid and has no wobbly keys like it has been reported by backers who have received devices from the first batch.
The opened Gemini PDA with display and keyboard
Phone manufacturers recommend to charge the devices a first time fully before using. Most probably this is a myth without any use than having a fully charged device, but anyway I did.
Charging the Gemini PDA for the first time
I am hoping you have enjoyed the photo series. Further articles regarding testing some aspects of the device, Linux on the Gemini, and hopefully some solutions will follow. Does it really contain a X27 CPU? We will find out later. Stay tuned for updates.
 MyGNU.de


 (4 votes, average: 3.50 out of 5)
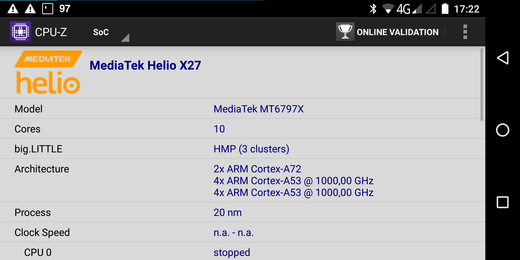

![[Valid RSS]](https://validator.w3.org/feed/images/valid-rss.png "Validate my RSS feed")

